Light Up Your Images with IC Light AI (by ThinkDiffusion)

Mastering exceptional lighting is essential for capturing a stunning shot—just ask any film crew’s lighting team. With IC Light and the powerful features of ComfyUI, users can make precise lighting adjustments that deliver professional-grade quality.
Unlike typical photo editors, this AI-powered technique applies lighting that realistically interacts with objects, contours, and shapes within the scene, enhancing depth and realism. In this guide, we’ll walk you through how to harness IC Light and ComfyUI for seamless, high-quality lighting effects using a prompt and workflow.
We'd like to credit CGTopTips for their knowledge of the IC Light Workflow!
How to Use IC Light in ComfyUI
One-Time Setup
💡
Download the workflow and drag & drop it into your ComfyUI window, whether locally or on ThinkDiffusion. If you're using ThinkDiffusion, it's necessary to use at minimum the Turbo 24gb machine, but we do recommend the Ultra 48gb machine.
Custom NodeIf there are red nodes in the workflow, it means that the workflow lacks the certain required nodes. Install the custom nodes in order for the workflow to work.
Go to ComfyUI Manager > Click Install Missing Custom Nodes
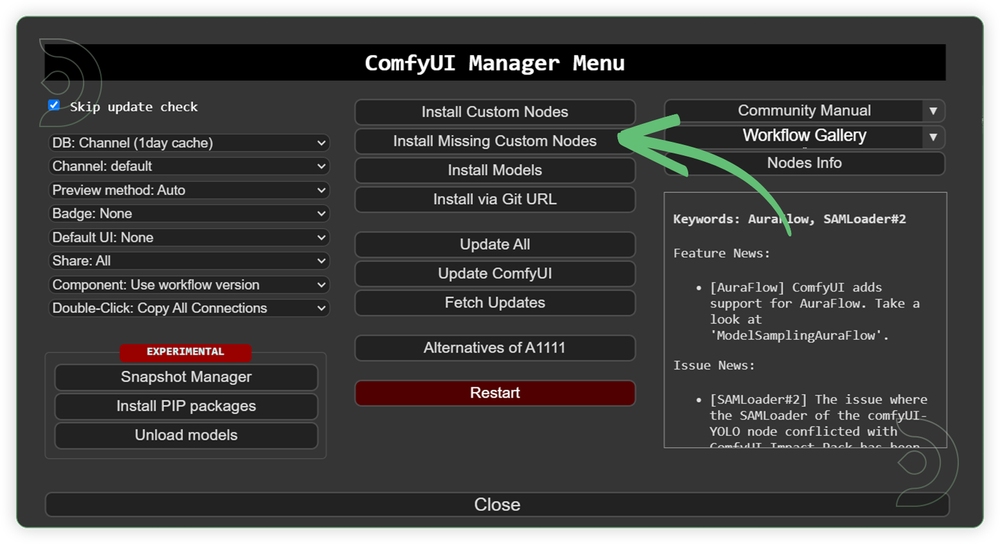
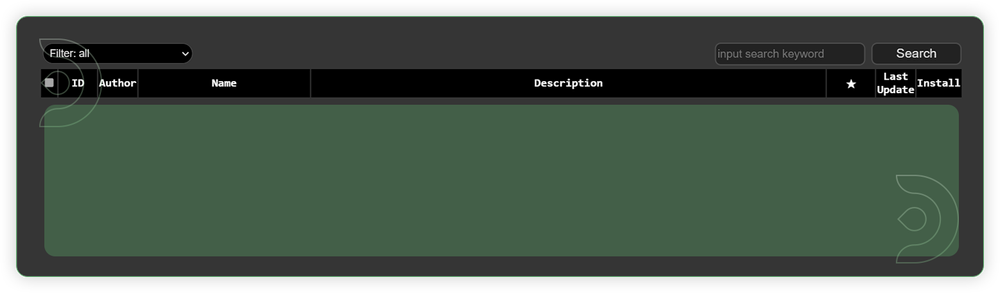
Check the list below if there's a list of custom nodes that needs to be installed and click the install.
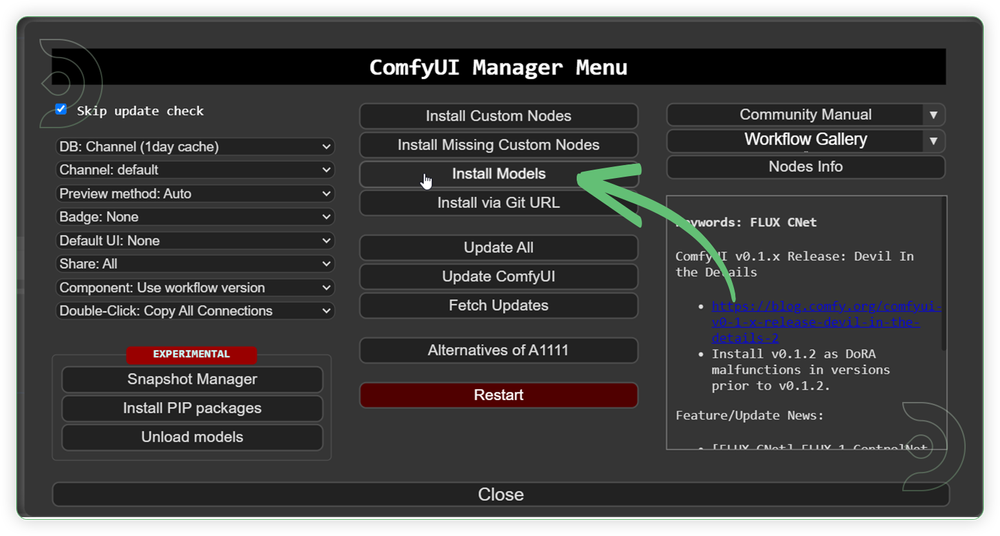
Download the recommended models (see list below) using the ComfyUI manager and go to Install models. Refresh or restart the machine after the files have downloaded.
Go to ComfyUI Manager > Click Install Models
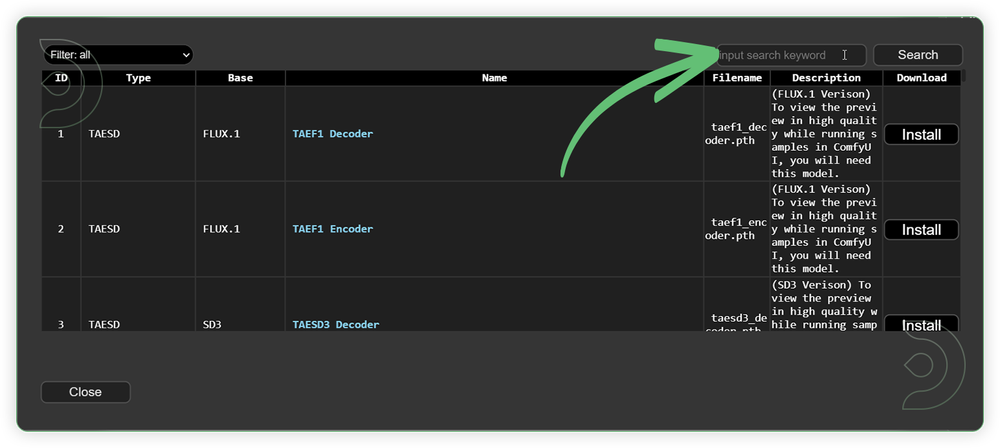
When you find the exact model that you're looking for, click install and make sure to press refresh when you are finished.
Use the model path source if you prefer to install the models using model's link address and paste into ThinkDiffusion MyFiles using upload by URL.
Model NameModel Link Addressepicrealism_naturalSin.safetensors
📋 Copy Path
iclight_sd15_fc_unet_ldm.safetensors
📋 Copy Path
model.pth
📋 Copy Path
Guide Table for UploadRecommended Models
Node’s Value Name
Node
ThinkDiffusion Upload File Directory
epicrealism_naturalSin.safetensors
ckpt_name
Load Checkpoint
…comfyui/models/checkpoint/
iclight_sd15_fc_unet_ldm.safetensors
model_path
Load and Apply IC-Light
…comfyui/models/unet/
model.pth
rmbgmodel
🧹BRIA_RMBG Model Loader
…comfyui/models/rembg/
Reminder💡
If the /rembg folder doesn't exist in the models directory of ThinkDiffusion, create a new folder and name it with rembg and upload the model.pth in it.
Procedures
Now that the hard work is out of the way, let's get creative. You need to follow the steps from top to bottom. The workflow is a one-click process after everything has been set up.
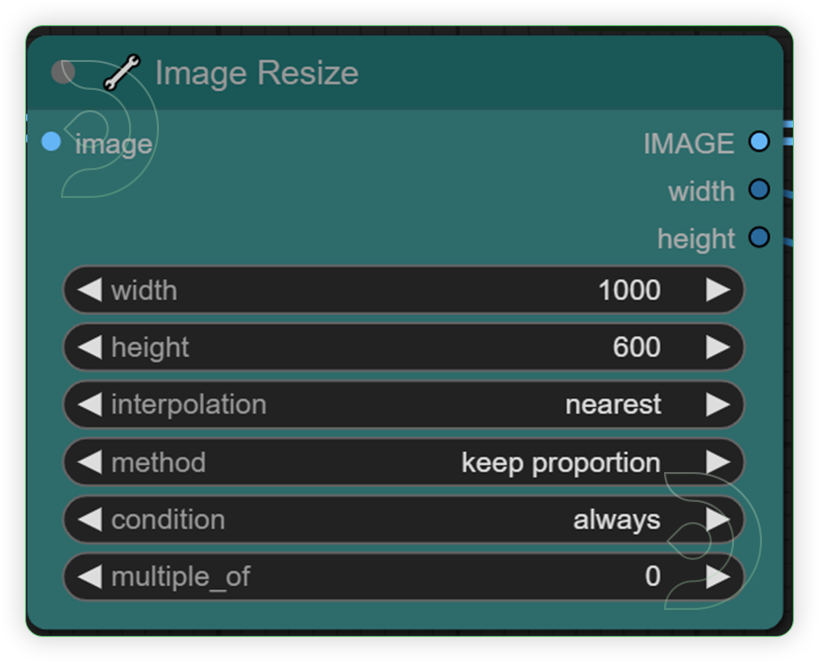
StepsDefault NodesLoad an Image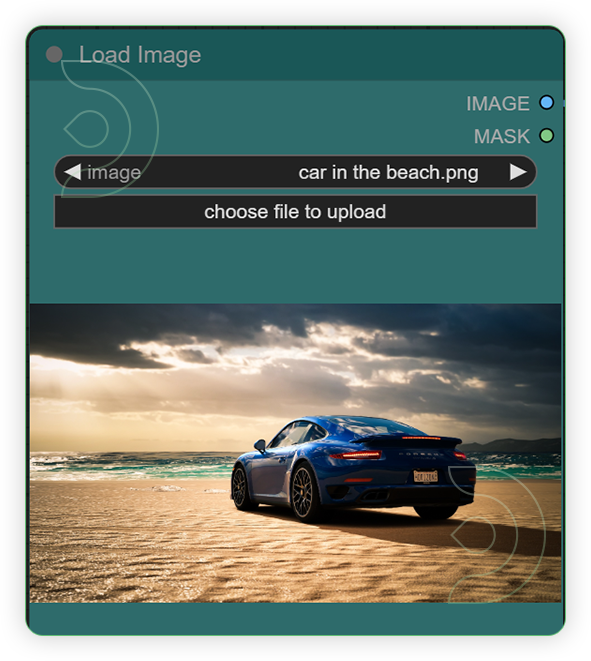 Set the Image Size
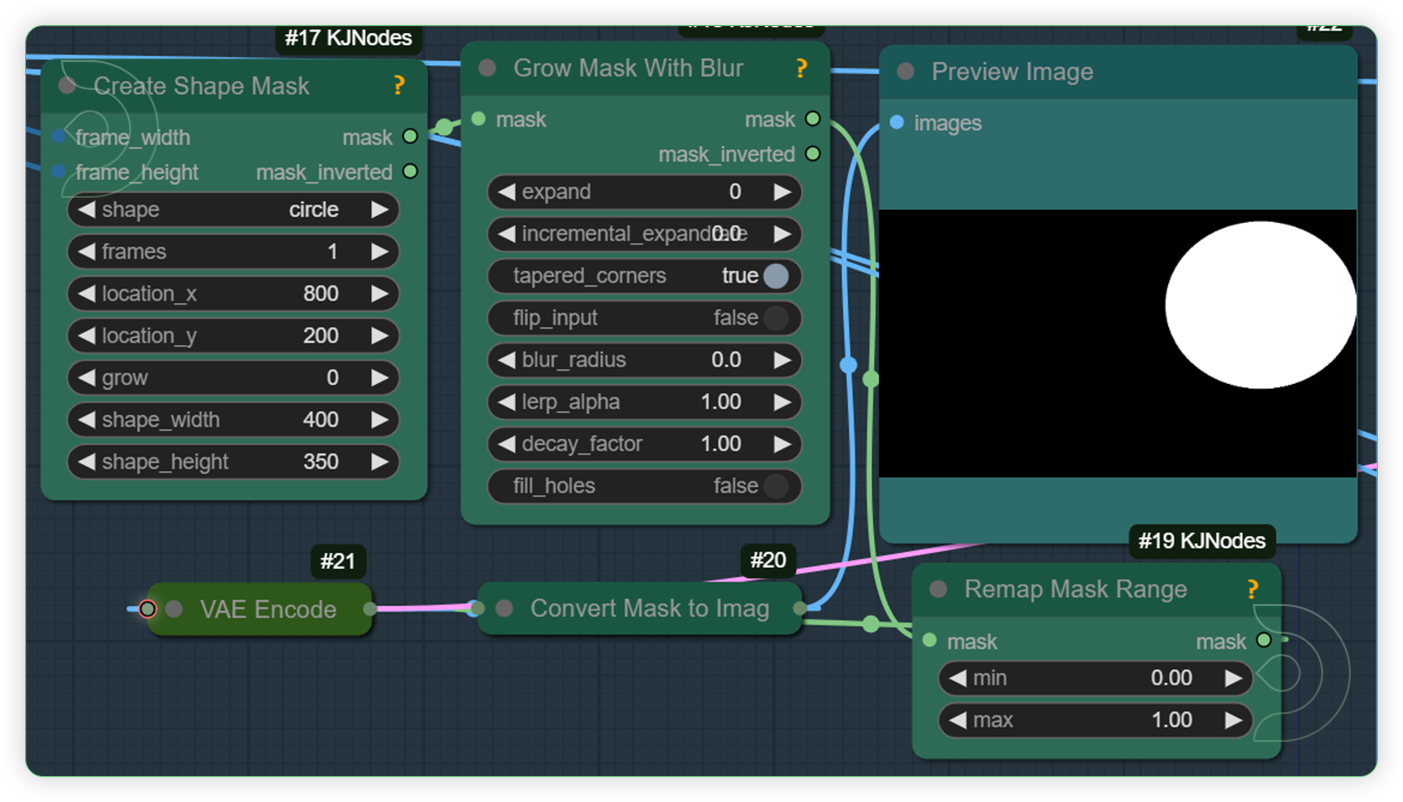
 Set the Relighting Shape and Location
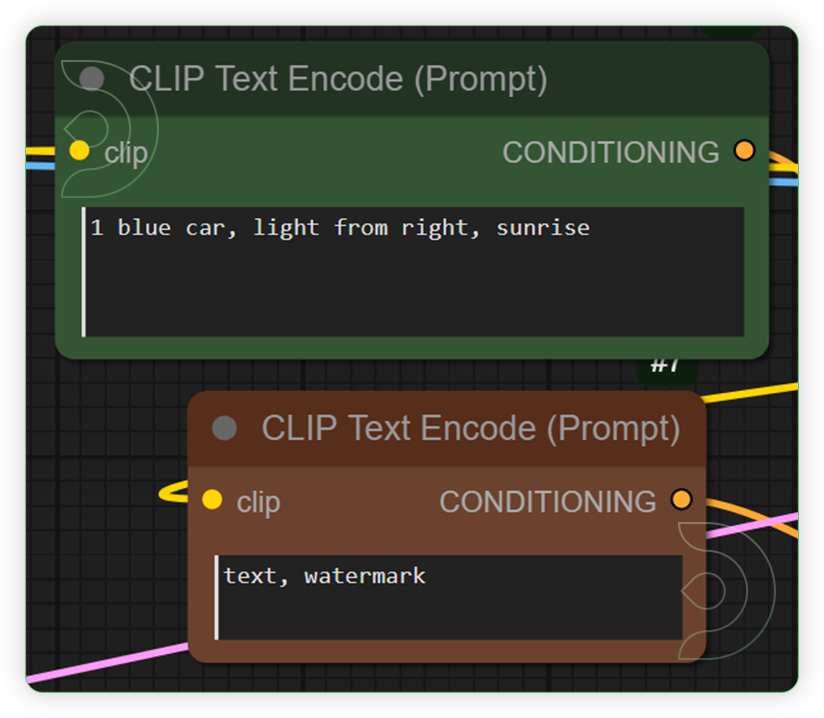
 Write a Prompt
 Set the Models
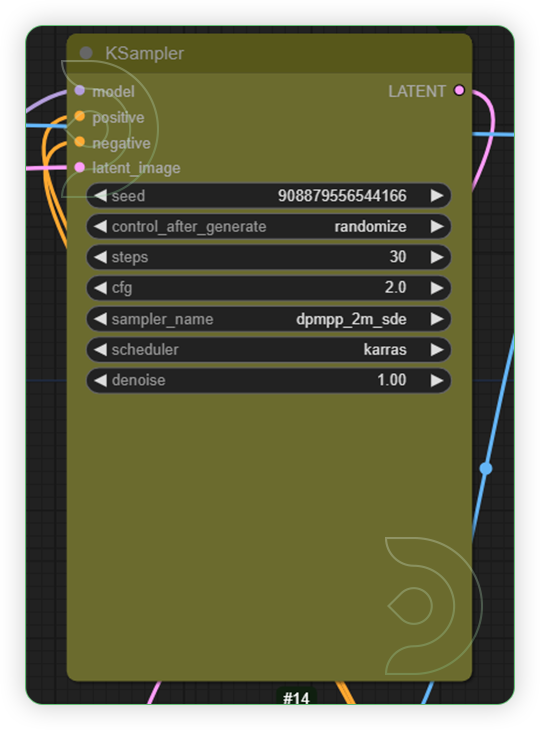
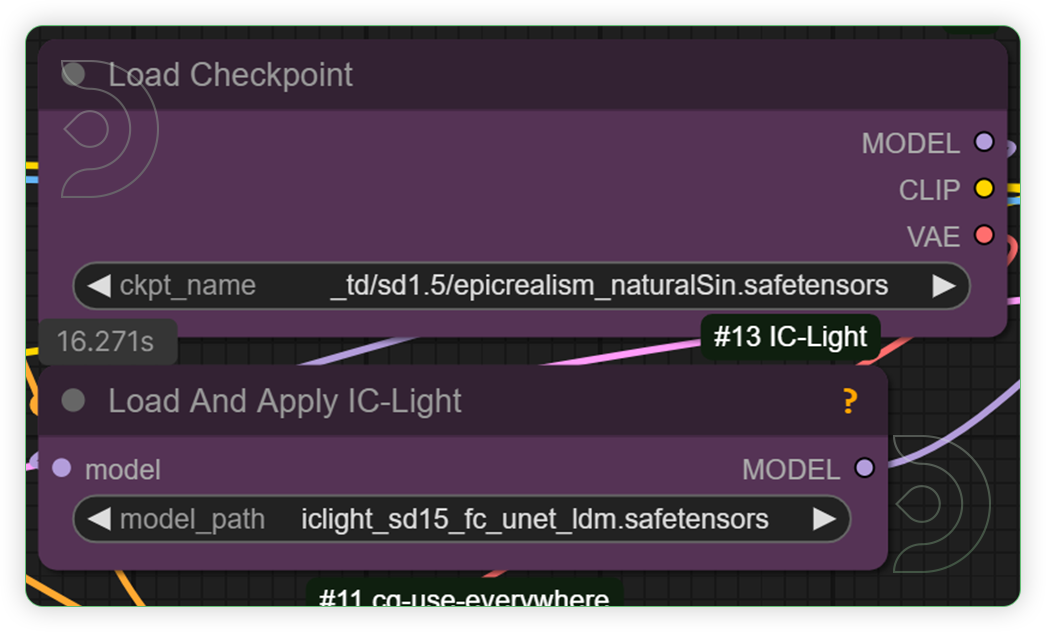 Set the Generation Settings
 Check the Output Image and Adjust your Preferred Lighting Settings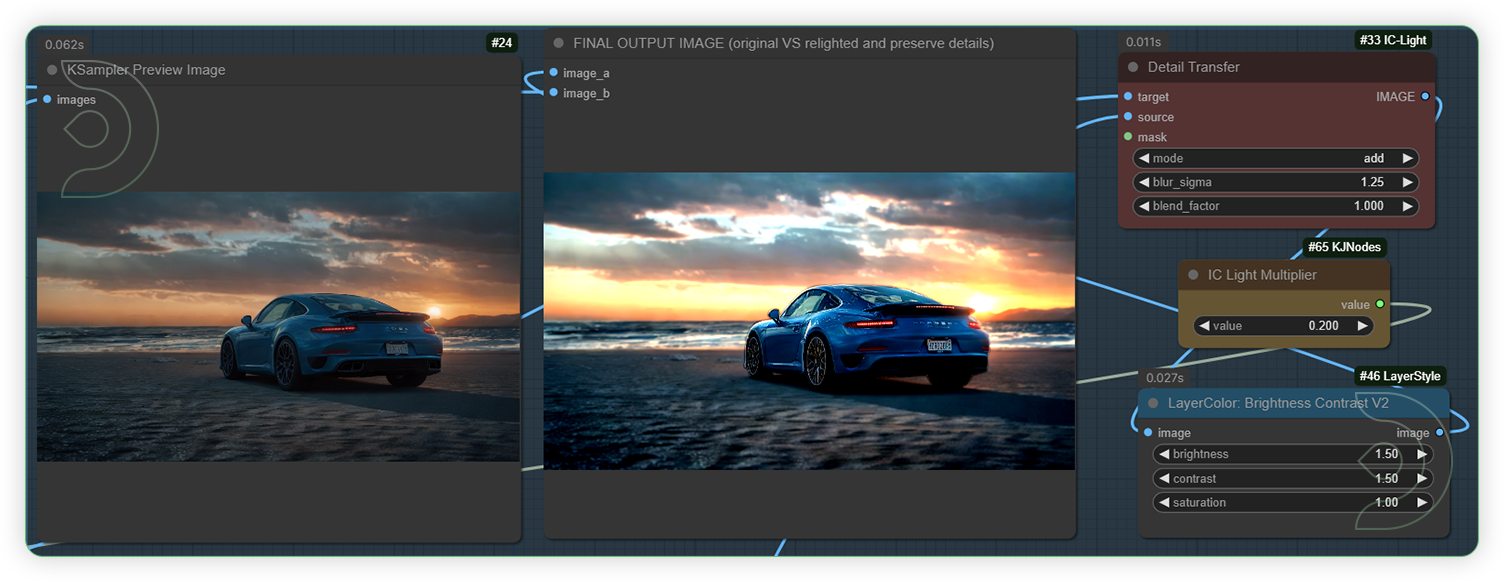
💡
location x & y is the position of shape mask. Check the preview map to check the location of mask.
x means horizontal movement
y means vertical movement
💡
After the generation preview appears, you can adjust only the ff:
-blur sigma (default 1)
-ic light multiplier (default 0.182)
-brightness (default 1)
-contrast (default 1)
-saturation (default 1)
IC Light Examples




Find the original article here: https://learn.thinkdiffusion.com/ic-light-basics/